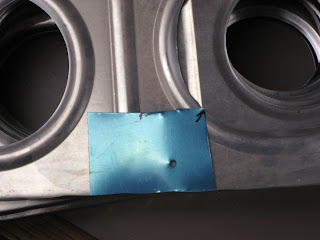
I put the right wing up on the table, match drilled the ribs to the spars, and dissassembled everything. I did not take any pictures of this.
I also made a quick jig for pilot holes for running conduit.
Then I went through both stacks and drilled the holes.
Once this was done, I deburred everything, pitot holes, conduit holes, tooling holes, corners, and basically am ready to clean, etch, and prime the ribs. I think I am going to get some emery tape though and do a bit more work on the corners while waiting for the summer to kick in and heat up my workshop.
Once I was done cutting myself on sharp corners, I started putting together the leading edge cradle. I got some 3/4 inch plywood with the help of a friend, and so I feel like its sturdy. It won't win any awards at a carpentry show though. Here I just have the skin in it.
I went ahead and clecoed the ribs in as well. I started on the top side of the wing and at the front of the leading edge, and clecoed up to the rear side. Then did the back.
Lots of clecos.This will have to wait until I have the ribs riveted on, the skins tentatively on, and then it will get placed on.
Lastly, I match drilled and deburred the aileron brackets for the back. Heres the pile of them waiting to be cleaned and etched and of course primed.
In other news, I will be trying to find a new place to house this blog because apparently I'm out of space for photos. I want to include the full size images because its been helpful to see other peoples full size images, so I will be trying to locate a place to stash them for now.


No comments:
Post a Comment