Thursday, April 7, 2011

Wings, Front Spars

I got back to the wings now that I'm more settled in.  I finished all of the countersinking and started installing plate nuts.  Once those were installed, I did the countersinking of the bolt holes.


The spar got primed afterwards.


Here are more plate nuts mid spar.
All installed!
More priming...

New Workshop

I was told we'd be moving hangers soon, and was allowed to select a room.  I was under the impression I'd be able to start moving after March 1st, but I got a call one Saturday evening and told that all of my stuff had already been moved!  A huge thanks to the people who carefully moved all of my stuff to the new location!

Now I have a room all to myself.  It was originally a conference room so I get to use this big heavy desk as a workbench.  It also has a nice cabinet in the corner which seems perfect for the bench tools...


I am absolutely thrilled to be in a bright, heated workshop now where I feel like I can make changes that will help the build.

Christmas

Christmas rolled around and my folks got me a very very nice bench top drill press to help in the process.  Heres a picture of me after Tyler helped me set it up.

Tail (kinda) Done!

The completed tail!  Heres some pictures of me too excited to do anything but grin.


Heres my friend Tyler who has lent a hand many a time.

Elevator take 2

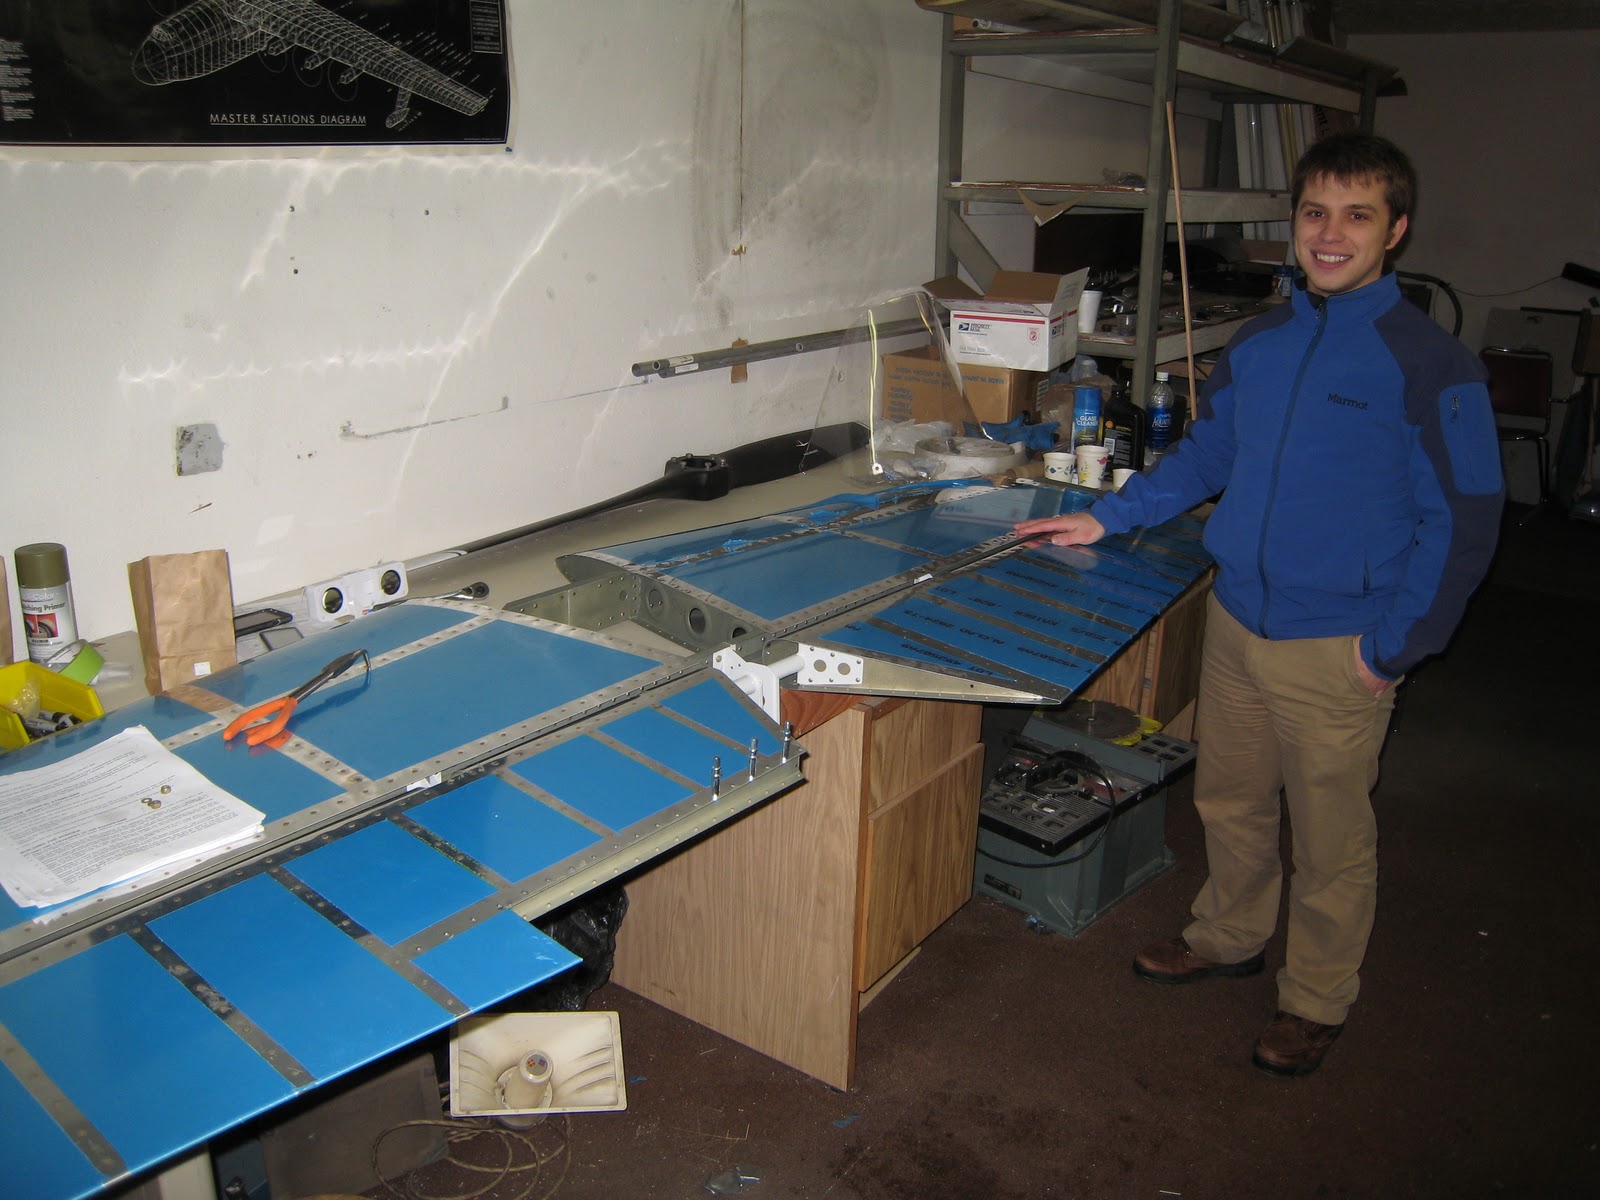
Well I decided not to jump ship and went back to work on the elevators.... The first elevator is complete, and this elevator is the one with the trim tab so its more complicated.  Again I cut, match drilled, deburred, dimpled, and primed the reinforcements.

Heres the viking boat you build for counterweight.

Riveting on the reinforcements with the rivet tape I finally purchased.

The inside as the reinforcements are riveted...
All installed!
Putting the skeleton together for match drilling....

Next I needed to make the panel for the trim cable access.  Here is the reinforcement plate that gets attached to the skin.  I first match drilled it to the skin, and then dimpled the skin and the plate.  You can see the dimples here.
Next I dimpled the inside holes, deburred them, and began attaching plate nuts.  These were kinda a pain to install just because of getting access to the back of the rivet with the rivet set.
And the dreadful folding.... Heres my wood block inside.

Markings for proper location
The top block.
And my decently acceptable, but honestly bothers me, folded edge.
Deburred and primed, now its time to rivet!
The horn getting attached to the skeleton.
Next I attached the trim cable access plate assembly.

And finally riveted the skeleton in!  With the help of some friends, we got the leading edges rolled and attached.  It was actually really difficult due to the strength of the skin.  It also means that we were trying to just get it done and didn't get any photos of the process.


Wings Arrived!

Hooray wings have arrived!  Luckily I had some help with inventorying the lot.  Its a huge amount of stuff.  I quit working on the elevators to make the first countersinks into the wing spar on the left wing spar.


The big row of em...


Elevators

More parts with a single spar means more reinforcements.  Here they're cut and in place to be drilled.

Stripped of the plastic wrap and deburred...
I did some fancy cutting on the inside of the elevator too so I can prime just where there is metal on metal contact.

Heres the outside of the skin, dimpled and ready for priming.

And now primed with the reinforcements installed, and the leftover blue plastic removed.