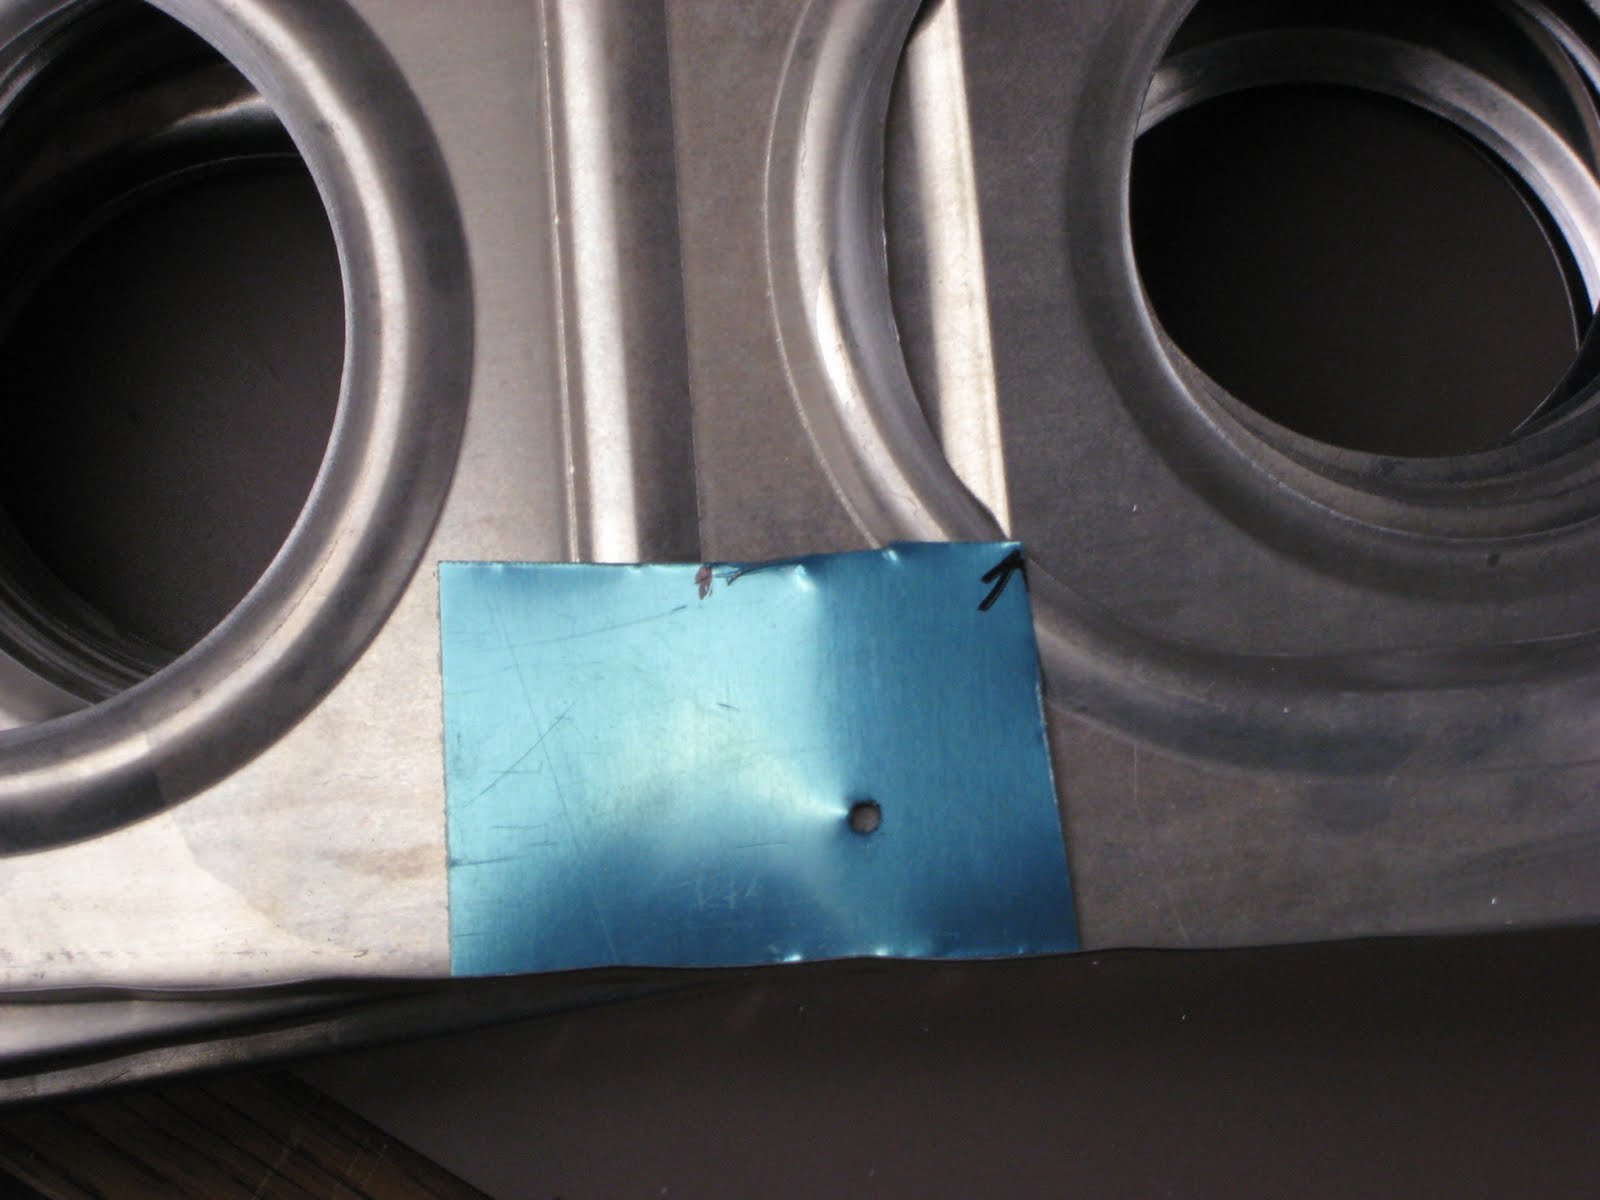
Today I received word from the FAA that I could have N258MP as my tail number which is exciting. I can now move forward with registration. I also just recently got my first report from a technical advisor.
In other news, with the newly minted tail number, and with issues with this blog host, I am moving the blog. Please follow me at http://258mp.wordpress.com.
Friday, May 13, 2011
Tuesday, May 10, 2011
Wing skins
Saturday I got into the hanger again and started putting on the skins. I had done some reading of other people's build logs and was surprised to find out that most people didn't worry about the twist in the rear spar. The prepunched skins work to get out the twist and according to Vans you don't need to do anything else. Sounds iffy, so here is what I did.
I clecoed on the top skins. Instead of doing every fourth hole, I did every other hole with very few exceptions. Luckily I had ordered another 200 clecos. Unluckily, this wasn't enough still. Once the top skins were on, I moved to the back and started installing those, clecoing every fourth hole.

Top skins, every other hole.

So with the skins on the top clecoed every other hole, and the skins on the back every fourth hole along both spars, and every fourth hole on the ribs on the root side, I hung plumb bobs on either end, and measured the distance between the line and the rear spar. Imagine my surprise when I was within two millimeters.
I had a friend come out who is an engineer to take a second look at it. He measured three millimeters. I still need to contact Vans before I sign off on this and start match drilling.
In the meantime, however, I put the leading edge back up!


Wings Riveted, Help from the parentals
The last weekend in April my mom and dad were in town. My dad being an aviation buff meant that he was ready to go to help out in the hanger. My mom is just an extremely generous person and wanted to hang out, so she got into it too. I had prepped the wing ribs and spars in advance so that they would be here to help me rivet them together.


Just for fun, we threw the leading edge up on top after we put the wing on the jig. My dad helped me level the wing at both ends to get the twist out of the front spar. After that, we jacked up the center of the rear spar so that the main spar to get out the flex from the deflection. We used a piece of string along the length of the rivet holes on the spar to gauge when it was straight.
A very productive weekend and a big thanks to my folks, they both helped a lot.
Wednesday, April 27, 2011
Hawaii
I just got back from some major relaxation in Hawaii, hence why the airplane news hasn't been rolling in. This weekend hopefully I'll get those ribs riveted on with the help of my dad who is in town!
Tuesday, April 19, 2011
Paint Time!
Aileron brackets riveted! These things look very very cool. I did this inbetween coats of primer on the wing ribs.


Here they are sitting next to the right wing ribs!

Wing Ribs
I wasn't happy with how the aileron brackets looked after spraying. I think I'm failing to get a good rinse of the etching compound. I ended up taking the wing ribs home and washing and etching them in the bathtub late in the evening so tomorrow I can straight from work to the hanger and paint them.
Also, it was pointed out to me that I forgot to countersink the aileron brackets for the flush mount rivets, so I countersunk those and have added them to the pile of things to prime.
Also, it was pointed out to me that I forgot to countersink the aileron brackets for the flush mount rivets, so I countersunk those and have added them to the pile of things to prime.
Wing Ribs
Tonight I went to the hanger with some new tools. First, I got a space heater to make painting work a bit better.


Tuesday, April 12, 2011
Ribs
I made a decision. Single conduit lines down each wing, but I wanted to open up the pitot tube holes so I could fit in plumbing for angle of attack (AoA). Tonight I did that, this time with the step drill instead of a hole saw. I found the results were better...
Also, my conduit arrived from Vans with the tie downs. Thats about all I did tonight...
Also, my conduit arrived from Vans with the tie downs. Thats about all I did tonight...
Sunday, April 10, 2011
Weekend in the hanger
This weekend wasn't as productive, but I did get some new materials and such. My order from Vans arrived with the conduit and tie downs. I also decided that I was going to do a SafeAir1 pitot mast, and ordered that. From Cleveland tool, I ordered a double offset rivet set so I will be ready for the wing rivetting. But enough about toys, lets get building.
I put the right wing up on the table, match drilled the ribs to the spars, and dissassembled everything. I did not take any pictures of this.
I also made a quick jig for pilot holes for running conduit.
 Then I went through both stacks and drilled the holes.

Once this was done, I deburred everything, pitot holes, conduit holes, tooling holes, corners, and basically am ready to clean, etch, and prime the ribs. I think I am going to get some emery tape though and do a bit more work on the corners while waiting for the summer to kick in and heat up my workshop.
Once I was done cutting myself on sharp corners, I started putting together the leading edge cradle. I got some 3/4 inch plywood with the help of a friend, and so I feel like its sturdy. It won't win any awards at a carpentry show though. Here I just have the skin in it.

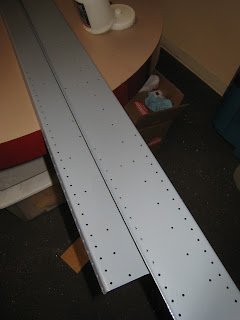
 Lots of clecos.
 This will have to wait until I have the ribs riveted on, the skins tentatively on, and then it will get placed on.
Lastly, I match drilled and deburred the aileron brackets for the back. Heres the pile of them waiting to be cleaned and etched and of course primed.

In other news, I will be trying to find a new place to house this blog because apparently I'm out of space for photos. I want to include the full size images because its been helpful to see other peoples full size images, so I will be trying to locate a place to stash them for now.
I put the right wing up on the table, match drilled the ribs to the spars, and dissassembled everything. I did not take any pictures of this.
I also made a quick jig for pilot holes for running conduit.

Once this was done, I deburred everything, pitot holes, conduit holes, tooling holes, corners, and basically am ready to clean, etch, and prime the ribs. I think I am going to get some emery tape though and do a bit more work on the corners while waiting for the summer to kick in and heat up my workshop.
Once I was done cutting myself on sharp corners, I started putting together the leading edge cradle. I got some 3/4 inch plywood with the help of a friend, and so I feel like its sturdy. It won't win any awards at a carpentry show though. Here I just have the skin in it.

I went ahead and clecoed the ribs in as well. I started on the top side of the wing and at the front of the leading edge, and clecoed up to the rear side. Then did the back.


Lastly, I match drilled and deburred the aileron brackets for the back. Heres the pile of them waiting to be cleaned and etched and of course primed.
In other news, I will be trying to find a new place to house this blog because apparently I'm out of space for photos. I want to include the full size images because its been helpful to see other peoples full size images, so I will be trying to locate a place to stash them for now.
Thursday, April 7, 2011
Rear Spars, Wings
Tonight I put together the rear spars. They had dried completely, so I assembled the left hand side. I started by taking a sharpie and putting a line through any holes I was supposed to skip for now. When I got to the two reinforcement plates, I switched and circled the holes that I could actually rivet because there were fewer of those. For the rear spar fork reinforcement, I put clecos in all of the holes I wasn't allowed to rivet. More on that in a bit.


Once all of the pieces were riveted on, I cleared off my work table and put the main spar down on the far side. I started placing the ribs into the appropriate slots on the main spar, and then clecoed them in. Then I started putting the rear spar on. The first few ribs went fine, but then on the fourth one, I realized I had moved the clecos to help pull the pieces together a bit more, and had then riveted the empty holes on the very ends of the fork. So this meant I had to drill them out.
Here you can see third from the left, riveted holes with sharpie marks across them.

I drilled out the first hole no sweat, it truly went just about perfectly (all things considering). The second one didn't go as well. Once it was out, I realized that not only had I riveted holes I wasn't supposed to, I had just removed one rivet that didn't need to be removed! Obviously I was a bit excited. I reriveted the hole, and drilled out the appropriate one, and continued down the wing. Once all the ribs were attached at both ends, I took a few quick pictures, waited for the grin to subside, and found someone else in the hanger to show it to.


Next, I went down each end and match drilled all of the holes. When I next go in, I'll be taking off the ribs, drilling out two holes for conduit on each rib, deburring all the recently drilled holes, and deburring the corners. Then its to the clean/etch/prime booth.
New Priming System
After a quick tour of another RV-7 builder's shop, I decided to finally jump off the rattle can primer ship. I have been getting more and more frustrated by needing to evactuate the room after spraying, or wear my respirator the entire time, and after seeing the simplicity of his system, I switched. I got a cheap 15 dollar gravity fed spray gun from Harbor freight, set up a spray tent in my workroom, and ordered cleaner, etcher, and single part primer from Stewarts Systems.
 The first items to get the new primer treatment were the pieces for the rear spars. Here is a picture of the rear spars. It seems to leave a good solid coat, and its a lot less toxic than the rattle can. I'm very happy with the switch.

Wings, Rear Spar
Tonight I match drilled the pieces for the rear spar. I started with the reinforcement fork, and immediately wrote the note to myself to dimple the spar flange before assembly. I clecoed everything and started drilling. Not exciting.


Once complete, it was time to repeat the same steps on the right wing.
Tie Downs
Tonight I started fabbing the tie down assembly. I started by cutting the inserts with my new bandsaw. Having a bandsaw makes life so much easier. A lot of other people said "don't wait, get a bandsaw" and I waited, and now will repeat their sentiments. Once I realized I could get a little one for just shy of $110, I jumped on it.


I don't have many pictures for the next part because it was extremely frustrating. You have to drill the holes through the tie down and the spacers for the rivets for the nutplate. This was difficult to do because it was hard to clamp the nutplate to the assembly. I ended up using channel locks and then clecoing the first hole, and then drilling the second, but one of my tie downs has a nutplate that isn't lined up perfectly vertically.
Next, all that was left was to tap the end ( I tapped the wrong end, so I had to tap it twice), and then prime and assemble!
As a note, the same steps were followed for both wings.
Subscribe to:
Posts (Atom)